Roofing Detail: Roof Vent

Proper ventilation is critical to the success of a steep-slope roof system. Roof vents are required in spaces with attics. A proper rule of thumb for roof vents is to apply one square foot of ventilation for every 150 sq. ft. of attic space.
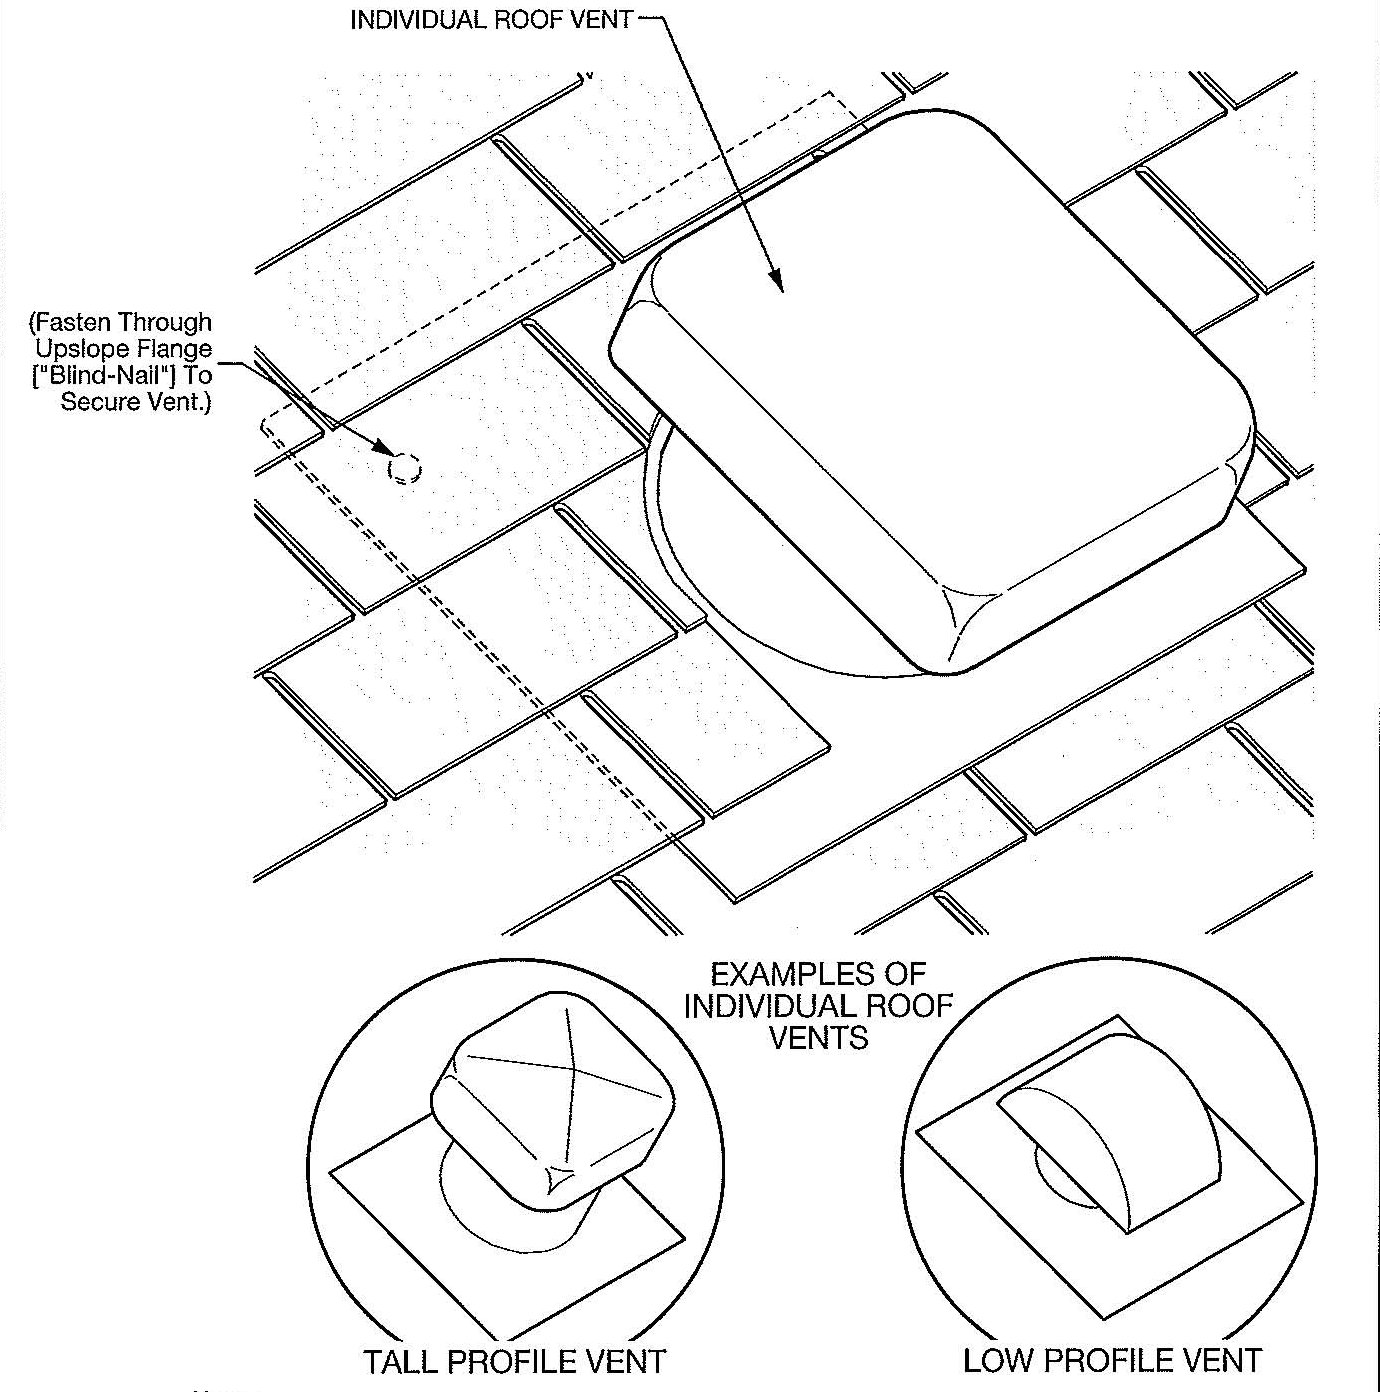
There are several types of roof vents on the market and they are typically made from plastic or metal. Roof vents come in various shapes and sizes and are available in many colors.
Roof vent installation is a simple process and should be completed using the following design parameters. The vents should be placed evenly apart on the roof area and should be set approximately down slope from the ridge. It is also imperative that roof vents are not placed over structural members because openings in the deck are required.
To install roof vents, drill a hole in the center of the area where the vent will be located. The hole should be large enough to set a reciprocating saw in it to cut the opening as the same size of the vent. Pull back the shingles at the top and sides of the opening. Apply proper caulking to the underside of the vent flange and adhere it to the decking by sliding it under the shingles. Apply roof cement to the underside of the lifted shingles and set the top and side shingles over the vent flange. The final step is to nail the roof vent flange to the deck. Since this is accomplished by nailing through the shingles either fasteners with rubber gaskets should be applied or caulking should be set over the exposed nail.
Looking for a reprint of this article?
From high-res PDFs to custom plaques, order your copy today!
.webp?height=740&t=1767036885&width=auto "Header - BE 1170x658 (002).png")

.webp?height=740&t=1755781744&width=auto "KEE(2).png")